Pop Art Studio ●  Batch Edition ●  Word Artist ●  Ultimate Fractal ●  Text Pro

Pop Art Studio Batch Edition

Convert hundreds of images at a time with just a few mouse clicks
With the Pop Art Studio Batch Edition you can:

  • Resize, rotate, and flip images
  • Convert image formats from any format to JPG, BMP, GIF, PNG, or TIF
  • Adjust Colors and Levels for brightness, gamma, chroma, contrast, hue, sharpness, blur
  • Add picture frames and apply special effects
  • Apply Andy Warhol effects (Batch Edition only)
  • Add text overlays, your company logo, or watermarks


The Batch Edition is the same piece of software as the regular version of Pop Art Studio. You don't need to download any additional software. By purchasing the Batch Edition you will receive a license key that unlocks the Andy Warhol Batch Conversion option. You can enter this key directly into the registration form of the program. The Batch option can be found in the Effects toolbar, or in the main menu under Effects > Andy Warhol Batch Conversion.


The Batch Conversion dialog window contains a number of tabs (File, Resize, Rotate/Flip, Effects, etc.). The first tab contains the file folders and general options, while others affect the behavior of the batch process. The last tab shows the progress during the batch processing.
The source and destination folder
The first tab in the Andy Warhol Batch Conversion window enables you to select the source folder and the destination folder.

In the Source tab you can browse for the source (Watch) folder.
Choose your own selection of files by checking Custom selection from the list and click the files in the list.

In the Destination tab you can browse for the destination folder.
Check Sequence to use the filename as entered in the text box and a sequence number as suffix, for example Image01.jpg - Image99.jpg. By unchecking this option, the original file names are preserved. Choose the output file format and the JPG or GIF settings if applicable.


Use the following options while converting your images:

Check for new files every n seconds
This option allows you to check for new files in the source folder every n seconds. Any new files will be converted by the system.

Automatically print the converted images
This option allows you to automatically print the converted images.

Printer
This option allows you to select the printer.

Full Page
This option allows you to fit the images to the paper size.
Resize, Rotate, and Flip images
The second and third tab in the Andy Warhol Batch Conversion window enables you to resize, rotate, and flip the images during the batch processing. Use the following options while converting your images:

Resize
This option allows you to resize the images. Select a width, height, the units of measurement (Pixel, %, Inch, or Centimeter) and the interpolation method. Nearest Neighbor Interpolation is the simplest method and basically makes the pixels bigger. Bicubic interpolation is the most accurate type of manipulation. If the option Keep aspect ratio is checked, then typing a new Width value will maintain a proportional Height value, and vice versa.

Rotate
This option allows you to rotate the images. Choose 90, 180, or 270 degrees or rotate by a specific angle. Click the button with the dots to change the rotation settings (Angle, Interpolation, Color).

Flip
This option allows you to flip the images horizontally or vertically.
Add Effects
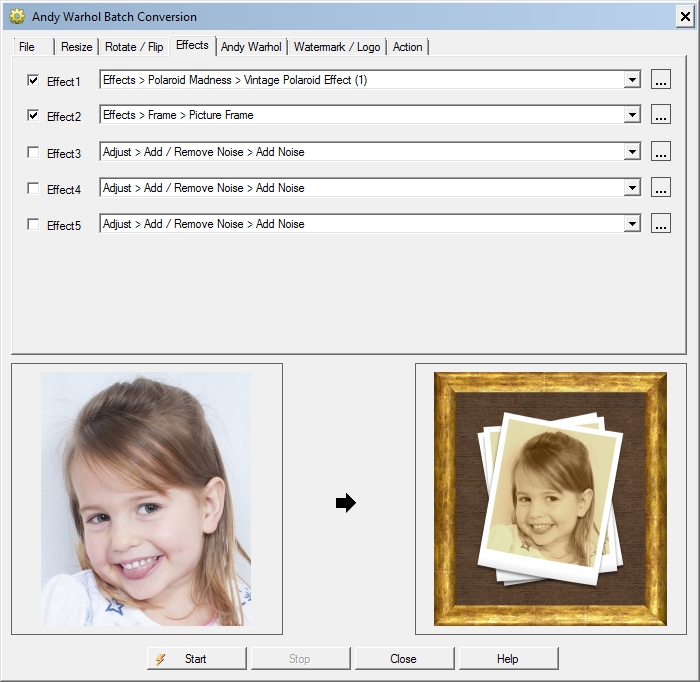
The Effects tab in the Andy Warhol Batch Conversion window enables you to add up to five different effects during the batch processing.
The effects are applied one after another. In the picture below the second effect Picture Frame is applied after first effect Vintage Polaroid Effect. Click on the button with the dots to bring up the effect settings window. Press the Help icon in the effect settings window for more information about the effect and the meaning of the parameters.

Add Andy Warhol Effects
The Andy Warhol tab in the Andy Warhol Batch Conversion window enables you to add Andy Warhol effects during the batch processing. Choose one or more Andy Warhol effects by marking the checkboxes. For each Andy Warhol effects you can specify a suffix at the end of the file name just before the extension.
The default values are '_1', '_2', '_3' etc.

For example, if the original file names are IMG_3774.jpg, IMG_3775.jpg, IMG_3776.jpg.
For the Che effect the file names in the destination folder become: IMG_3774_1.jpg, IMG_3775_1.jpg, IMG_3776_1.jpg.
For the Marilyn effect the file names in the destination folder become: IMG_3774_2.jpg, IMG_3775_2.jpg, IMG_3776_2.jpg.
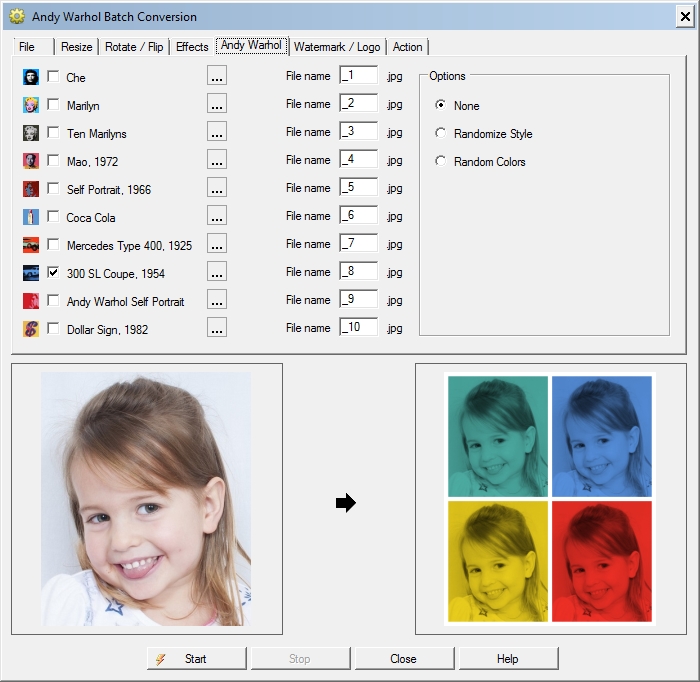

Use the following options while converting your images:

None
No options. This is the default.

Random Style
This option allows you to apply a random style to the Warhol effects.

Random Colors
This option allows you to apply random colors to the Warhol effects.

Click on the button with the dots to bring up the effect settings window. Press the Help icon in the effect settings window for more information about the Warhol effect and the meaning of the parameters.

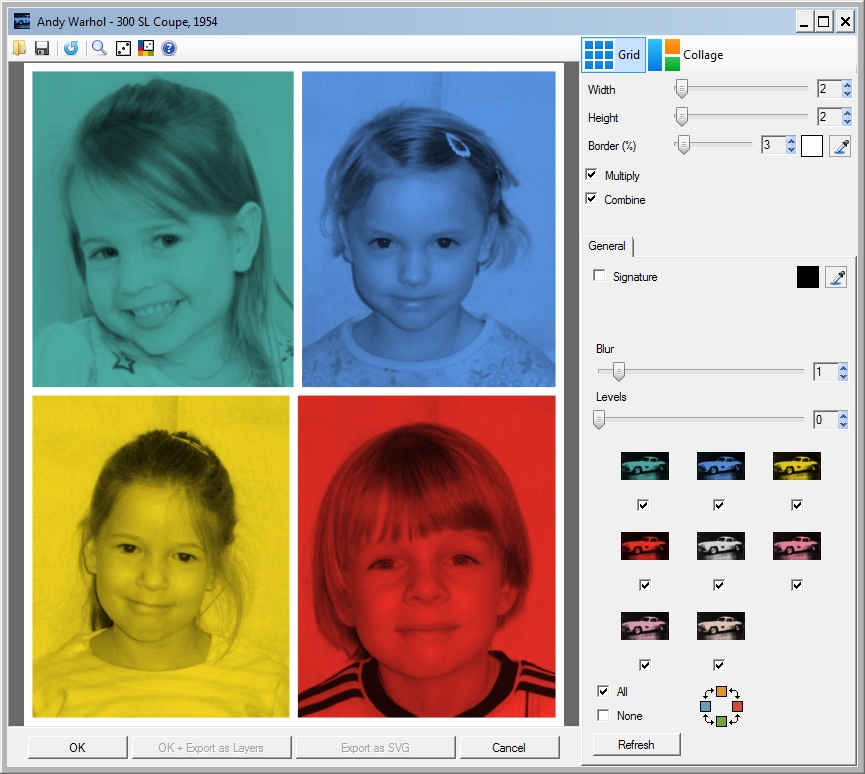
 Grid

By selecting Grid the photos are placed in a grid, a pattern made from horizontal and vertical pictures spaced out at regular intervals. The Border slider allows you to change the spacing between the pictures. The spacing is a percentage of the picture dimensions. To change the color of the borders, click the color button to open the color picker window. By checking Combine you are able to combine multiple photos in the source folder to create the final image.


 Collage

By selecting Collage you are able to create a collage of your photos. You can select an aspect ratio to change the proportions of your collage. Pick a template for your collage based on the number of pictures you would like to use (up to 8 photos). The Border slider allows you to change the spacing between the pictures. The spacing is a percentage of the picture dimensions. To change the color of the borders, click the color button to open the color picker window.


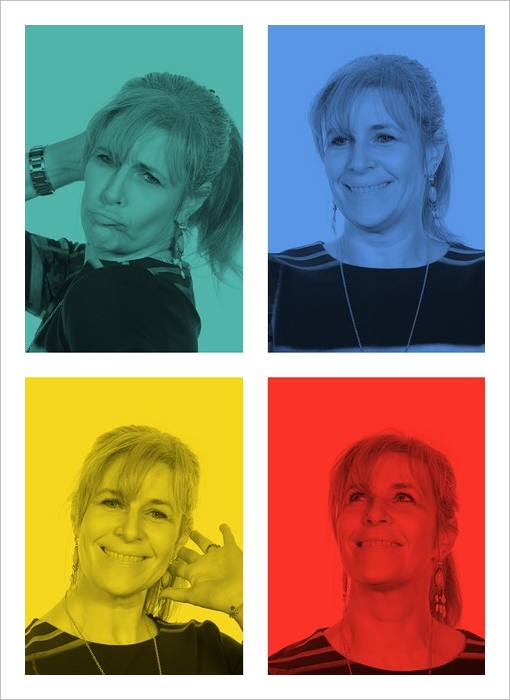
In a real-time environment where new photos are added to the source folder every few seconds, it might look like this:
Add a watermark or logo
The Watermark / Logo tab in the Andy Warhol Batch Conversion window enables you to add a watermark or logo during the batch processing.

Check Watermark to add a watermark to your images. A watermark is a secondary image or text which is overlaid on the primary image, and provides a means of protecting the image. Choose the file path, file name, or file date as watermark. Click on the button with the dots to bring up the watermark options window. In this window you can change the intensity and position of the watermark text or image.

Check Logo to add a Logo to your images. Press the folder icon to open the logo picture. Use the following options:

Align
This option allows you to adjust the position of the logo picture.

Autosize
This option allows you to fit the logo width to the width of the converted images.

Overlay
By checking this option the logo is placed over the images. By leaving this option blank the logo is placed below or on top of the images.

Opacity
Opacity is the opposite of transparency. If the logo has an opacity value of 100%, that means it’s completely visible. An opacity value of 0% indicates that the logo is completely transparent.

Action
The Action tab in the Andy Warhol Batch Conversion window shows the progress during the batch processing. Click the Start button to start the conversion. You can monitor the process and, if necessary, stop the process.

Copyright © 2005-2022 Fotoview